| Edition | Deployment Type |
|---|---|
| Enterprise | Self-Managed, Hybrid, Cloud |
Prerequisites
This guide spins up a full Tyk Self Managed stack; however, if you are interested in learning Tyk Stack, there’s an option for Tyk Demo, which is a project that spins up a full Tyk stack that includes pre-populated API definitions of all kinds, with various middleware options, and can also spin up supporting tools such as Prometheus, Keycloak (IDP), etc.What’s included?
This installation will run Tyk Self-Managed on your machine, which contains 5 containers: Tyk Gateway, Tyk Dashboard, Tyk Pump, Redis and MongoDB.- From v5.5.0 onwards, Docker images are based on distroless. This means that you will not be able to obtain a shell with
docker run --rm -it tykio/tyk-gateway:v5.5.0 sh. The image can be inspected with tools like dive or Docker Desktop.
Instructions
-
Clone the GitHub repo
-
Edit your hosts file
You need to add the following to your hosts file:
-
Add your developer license
From your installation folder:
Create an
.envfile -cp .env.example .env.Then add your license string toTYK_DB_LICENSEKEY. -
Initialise the Docker containers
With MongoDB
Run the following command from your installation folder:
With PostgreSQL Run the following command from your installation folder:This will will download and setup the five Docker containers. This may take some time and will run in non-daemonised mode so you can see all the output.
-
Bootstrap the Tyk installation
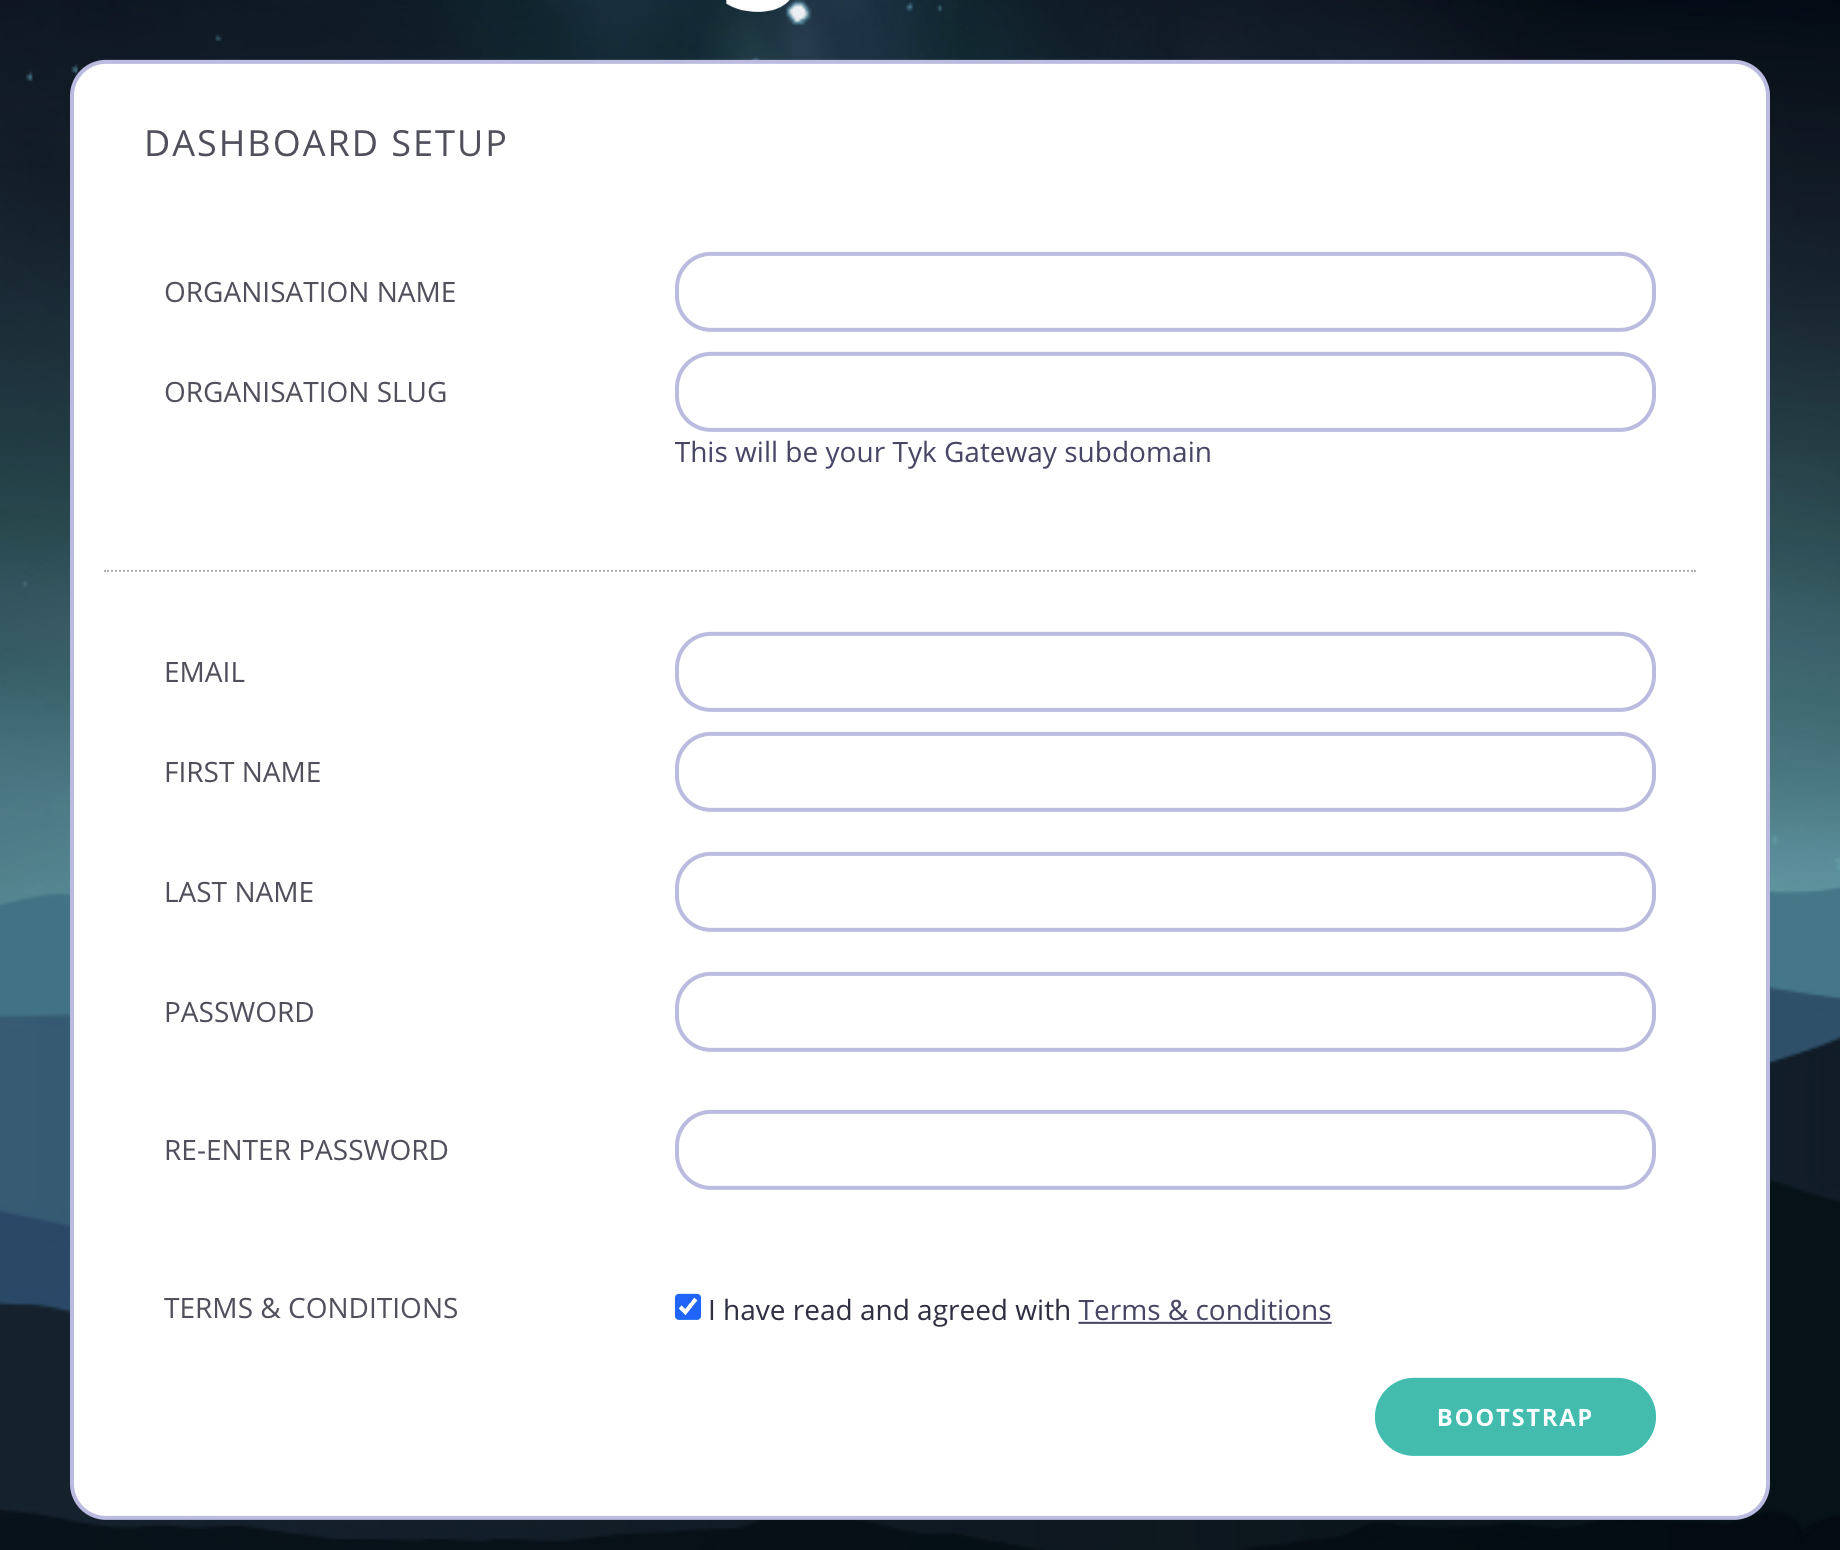
Go to http://localhost:3000 in your browser. You will be presented with the Bootstrap UI to create your first organization and admin user.
-
Create your organization and default user
You need to enter the following:
- Your Organization Name
- Your Organization Slug
- Your User Email Address
- Your User First and Last Name
- A Password for your User
-
Re-enter your user Password
For a password, we recommend a combination of alphanumeric characters, with both upper and lower case letters.
-
Log in to the Tyk Dashboard
You can now log in to the Tyk Dashboard from
127.0.0.1:3000, using the username and password created in the Dashboard Setup screen.